
Upgrading macOS is often a smooth experience, but sometimes a new release can introduce unexpected problems – a sluggish system, broken applications, or frustrating bugs. If you find yourself longing for the stability of your previous operating system, there’s good news: you can often revert to an older version of macOS.
While easier than downgrading an iOS device, reverting a macOS update isn’t a simple install. It’s a deliberate process, typically requiring a complete wipe of your Mac’s internal drive. Apple doesn’t allow direct installation of older versions over newer ones, necessitating a clean slate.
Before you begin, a comprehensive backup is absolutely essential. Erasing your drive means losing all local data, so protecting your files is paramount. The best approach depends on whether you have an Apple silicon or Intel-based Mac, and whether you created a backup *before* initiating the upgrade.

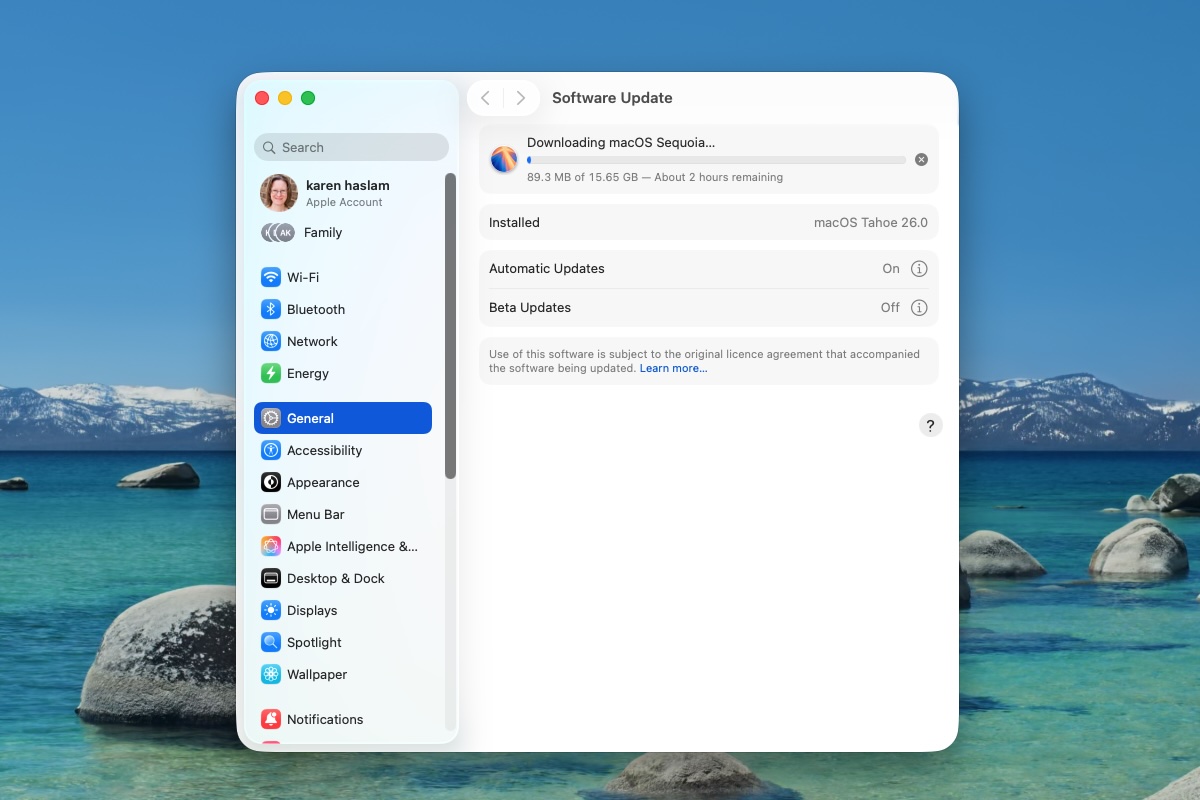
Downgrading from macOS Tahoe (version 26) to Sequoia (version 15) is possible, but it’s a complex undertaking. Be prepared to completely erase your Mac and reinstall the older operating system. You’ll need a current backup of your data, the macOS Sequoia installer, and an external hard drive to create a bootable installer.
First, ensure your data is safely backed up. This is non-negotiable. Next, download the installer for the macOS version you want to return to. Finally, you’ll need to create a bootable installer on an external drive – a crucial step for initiating the downgrade process.
If you’re simply trying to move back one minor update – for example, from macOS 26.3 to 26.2 – the process is slightly streamlined. Access to the older macOS installer is key, but it’s not as readily available as the latest versions in the Mac App Store.
The easiest solution in this scenario is a Time Machine backup created *while* you were running the previous version of macOS. If you have this, you can restore your Mac to its former state. However, remember that any data added since the update will be lost, so a separate backup of those recent files is recommended.
Backing up your Mac is the most critical step. If you have a backup made *before* the problematic update, you can skip this stage. However, a backup created *after* the update might simply reinstall the version you’re trying to escape. To ensure a clean recovery, consider these backup strategies:
Manually copying essential files to an external drive is the simplest method. Alternatively, third-party cloning software like ChronoSync, Get Backup Pro, SuperDuper, or Carbon Copy Cloner can create a complete drive clone, excluding the operating system itself. Cloud synchronization services like iCloud, Dropbox, and Google Drive are helpful, but don’t rely on them exclusively – some applications store data locally.
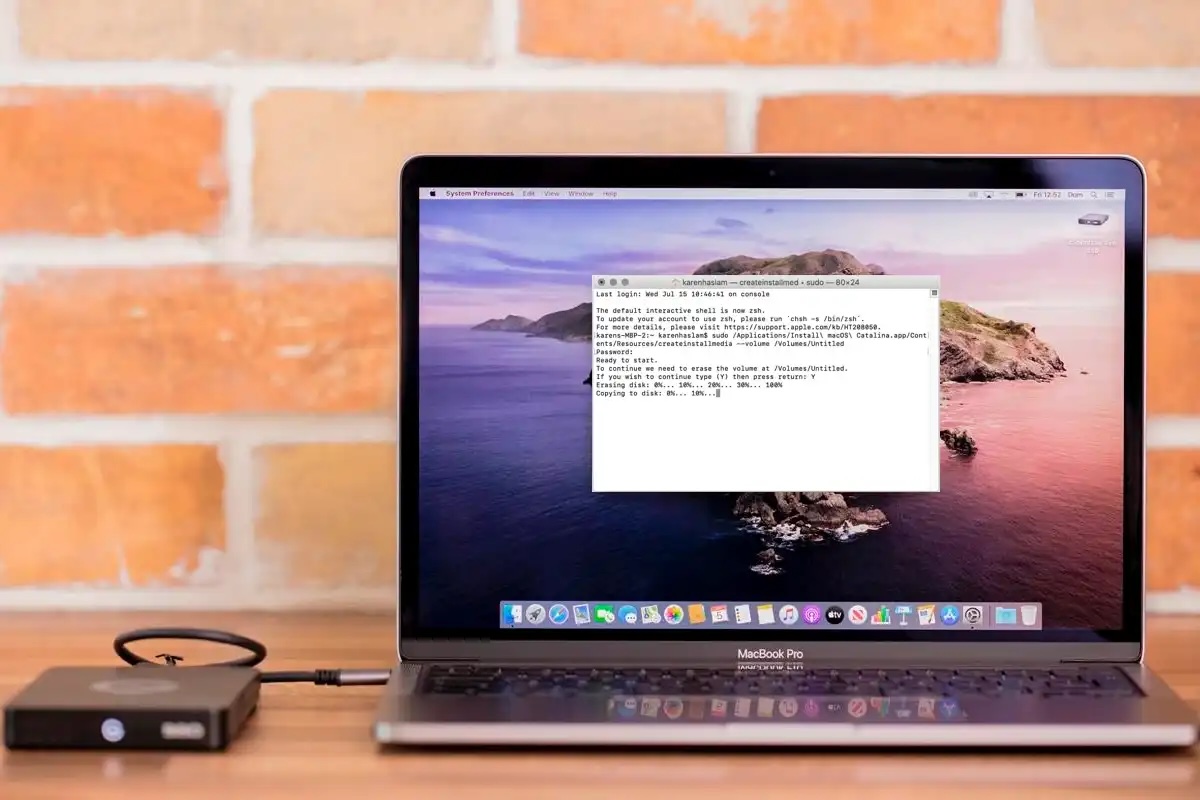
Once you’ve secured your data, the downgrade process begins. First, obtain the installer for your desired macOS version. Then, create a bootable installer using a USB drive with at least 15GB of space. This involves reformatting the drive and using the Terminal application with a specific command.
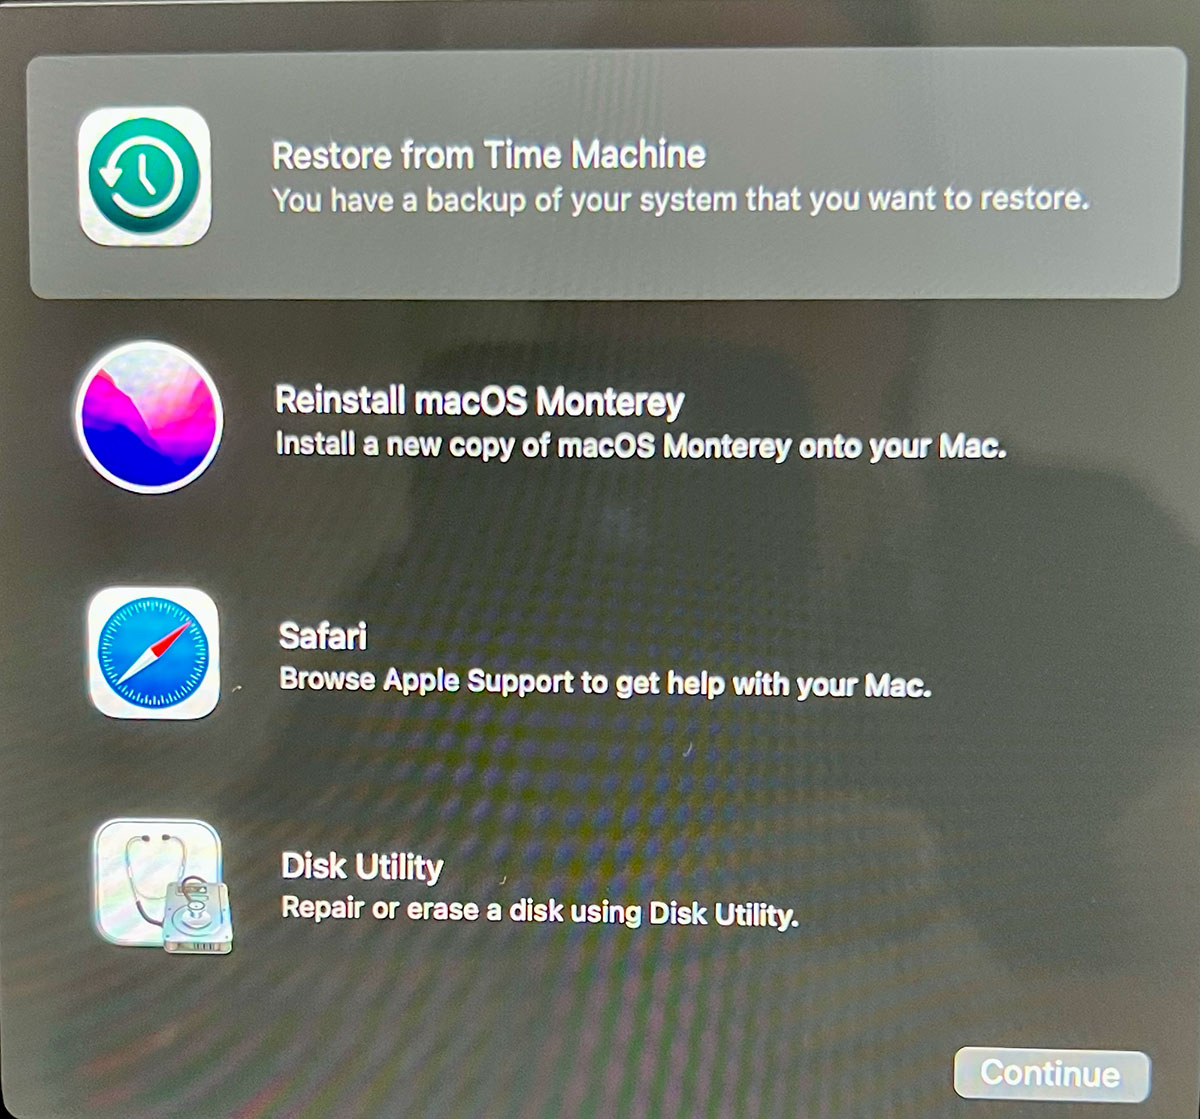
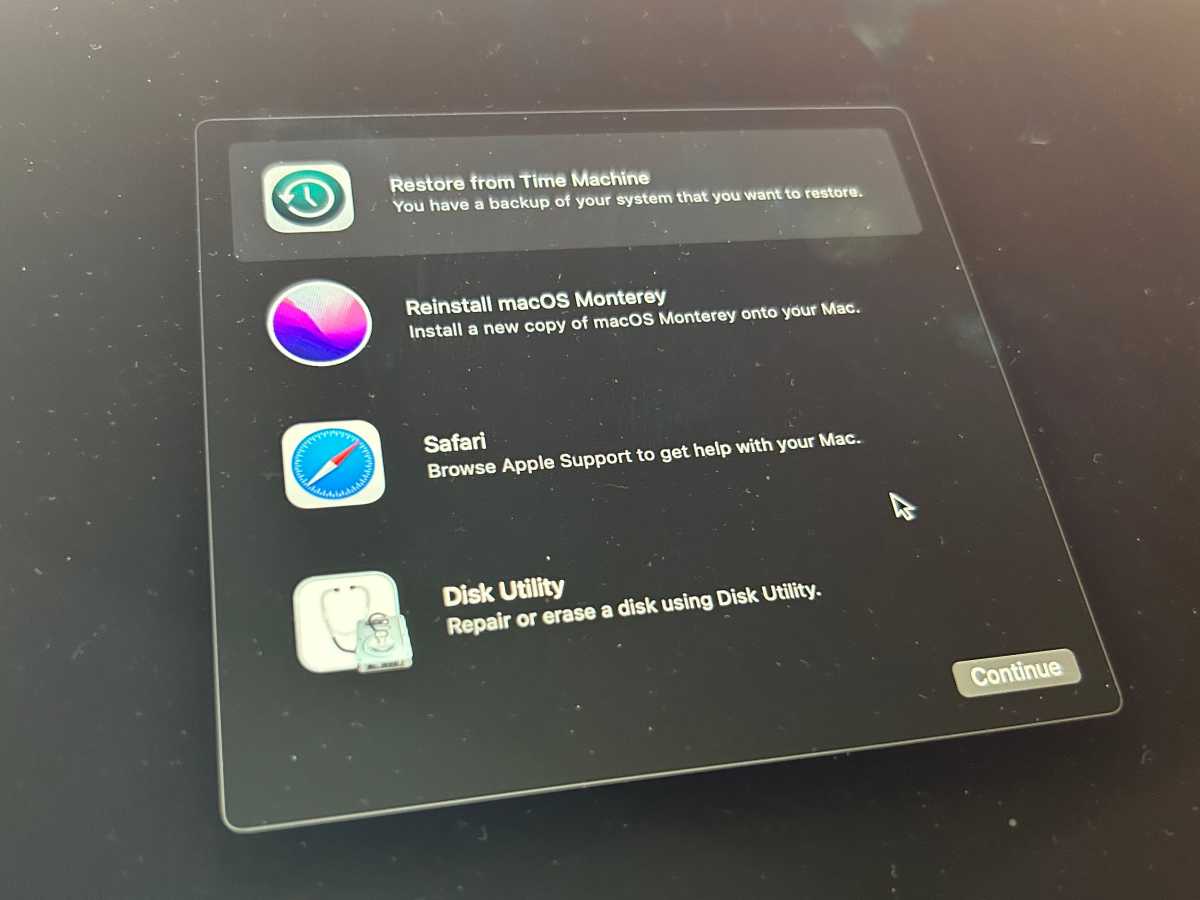
With the bootable installer ready, shut down your Mac and restart it in Recovery Mode. Connect the installer drive, access Wi-Fi, and select the option to reinstall macOS. This will initiate the process of wiping your drive and installing the older operating system.
After the installation completes, you’ll need to go through the initial setup process. If you have a Time Machine backup from before the update, you can restore from it at this stage. Otherwise, finish setting up your Mac as new and recover your data from the alternative backup method you chose.
If you have a Time Machine backup, the recovery is relatively straightforward. Simply connect your backup drive, restart your Mac, and choose the option to restore from Time Machine. Select the backup created *before* the update, and the process will revert your Mac to its previous state. Remember that any changes made since the update will be lost.
Creating a bootable installer requires using the Terminal application and a specific command. For macOS Sequoia, the command is: `sudo /Applications/Install\ macOS\ Sequoia.app/Contents/Resources/createinstallmedia --volume /Volumes/MyVolume`. Replace “MyVolume” with the name of your USB drive. Similar commands exist for other macOS versions.
Downgrading isn’t always seamless. Older Macs might require a more thorough wiping process. If booting from external media fails, ensure that it’s enabled in the Startup Security Utility. If the old macOS won’t install, a complete wipe of the drive might be necessary.
For some older Macs, you might be able to reinstall the original version of macOS that shipped with the device using macOS Recovery. Restart your Mac while holding down specific keys (Shift + Option/Alt + Command + R for Intel Macs) to enter Internet Recovery Mode and choose the Reinstall macOS option.
To minimize problems, export documents in standard formats like RTF. Take screenshots of custom settings in applications and System Settings. Gather installers and license codes for any software you’ll need to reinstall. Synchronize cloud storage services and back up email accounts. Careful preparation can save you significant headaches.


